Kalkalator Setup Guide
Follow these steps to get your Kalkalator up and running.
Assembly
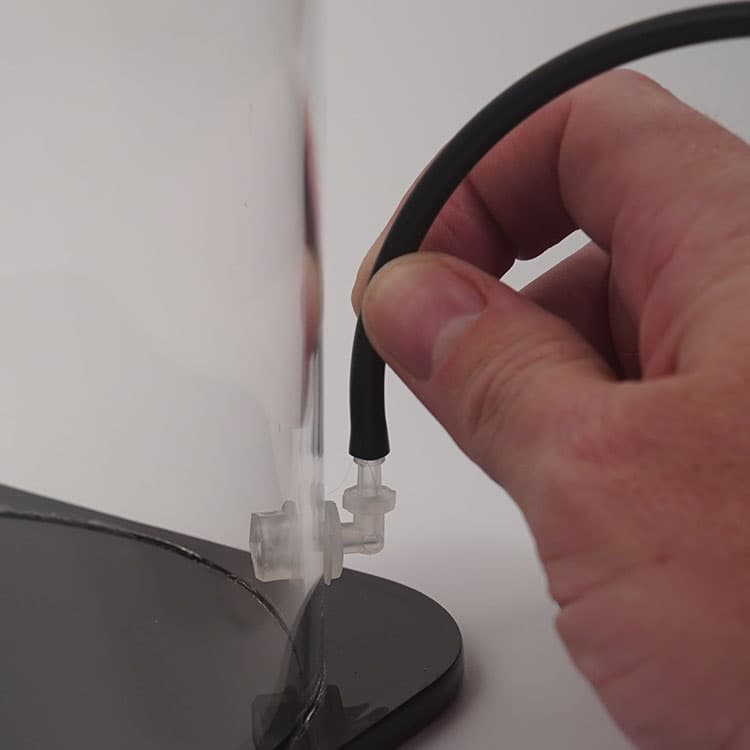
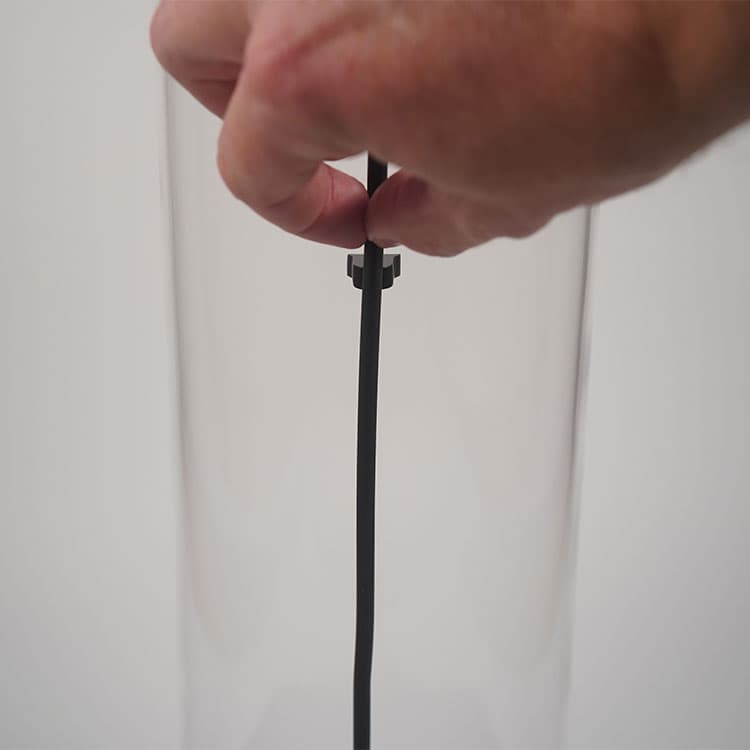
Connect the shorter black silicone tube to the reactor feed inlet barb and secure it in the retainer clip on the reactor's side.
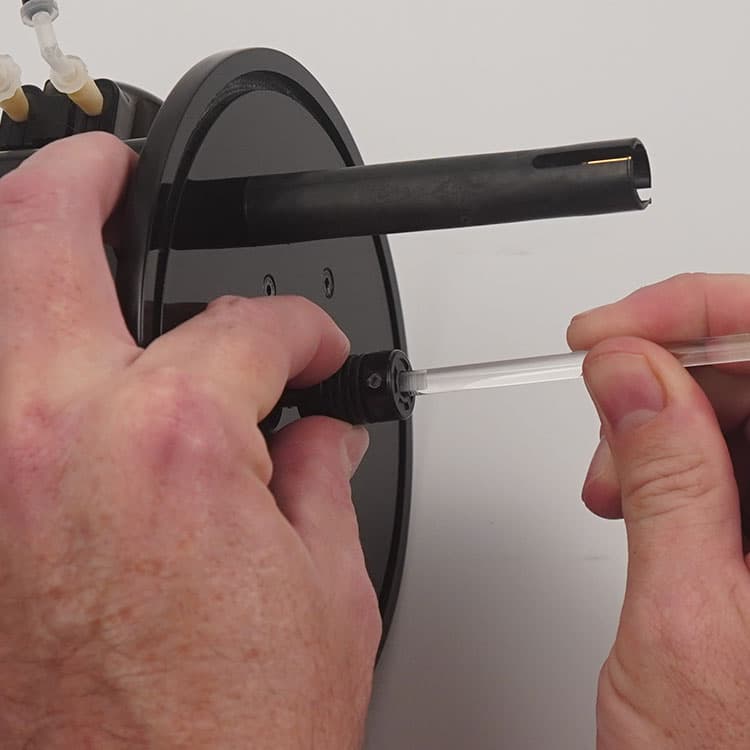
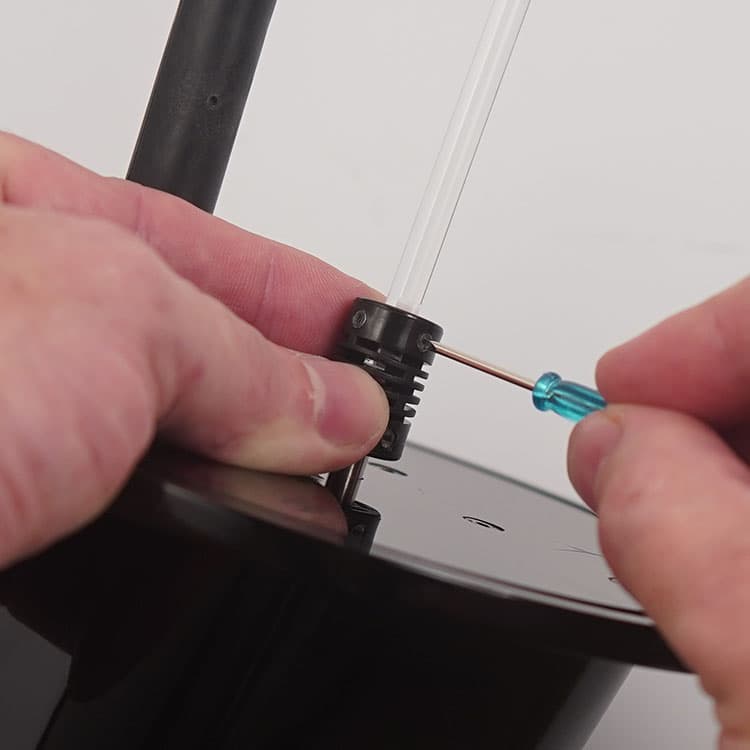
Insert the stirring rod into the coupler on top of the reactor, aligning the flat side of the rod with one of the securing screws. Use the supplied mini screwdriver to tighten the grub screws firmly. Take care not to overtighten and damage the threads.
Add the initial dose of Kalkwasser to the reaction chamber. Be careful not to create excessive dust when adding. Up to 250 grams may be added.
Place the top on the reactor, and secure the lower dosing pump feed line to the reactor feed line using the twist lock fittings.
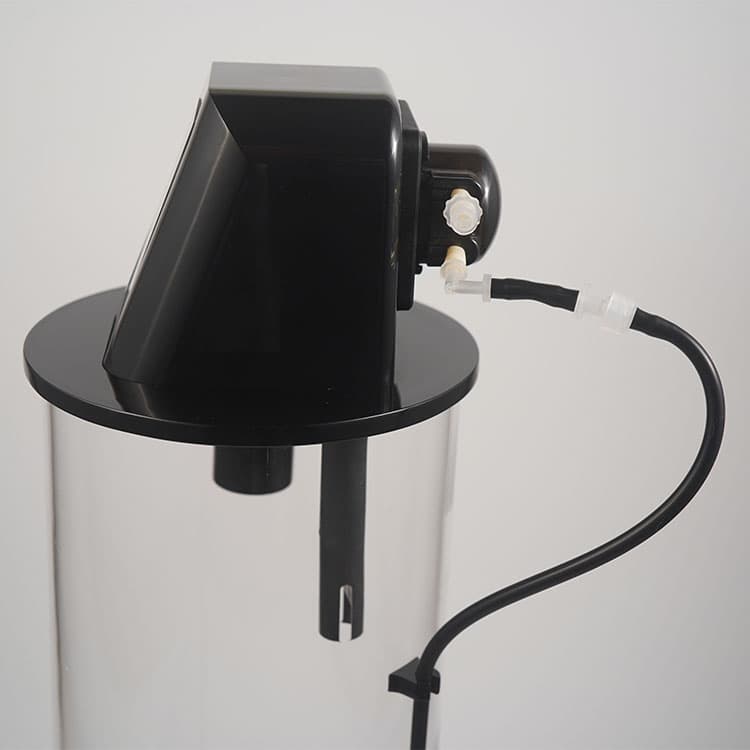
Placement
Position the device so the outlet can gravity-drain to an area of high water flow in your sump. The outlet should never be below the waterline — the device cannot be pressurised. Do not use outlet extensions in a way that raises the water level inside the reaction chamber.
Connect RO/DI Water Supply
Connect your RO/DI water supply to the top tube of the dosing pump using the supplied silicone tube. This source must not be pressurised. Do not connect directly to a mains-pressure RO/DI unit — use a reservoir or top-up container instead.
Plug in Kalkalator
Connect the power adaptor to Kalkalator and plug in to mains power. The display will guide you through initial setup.
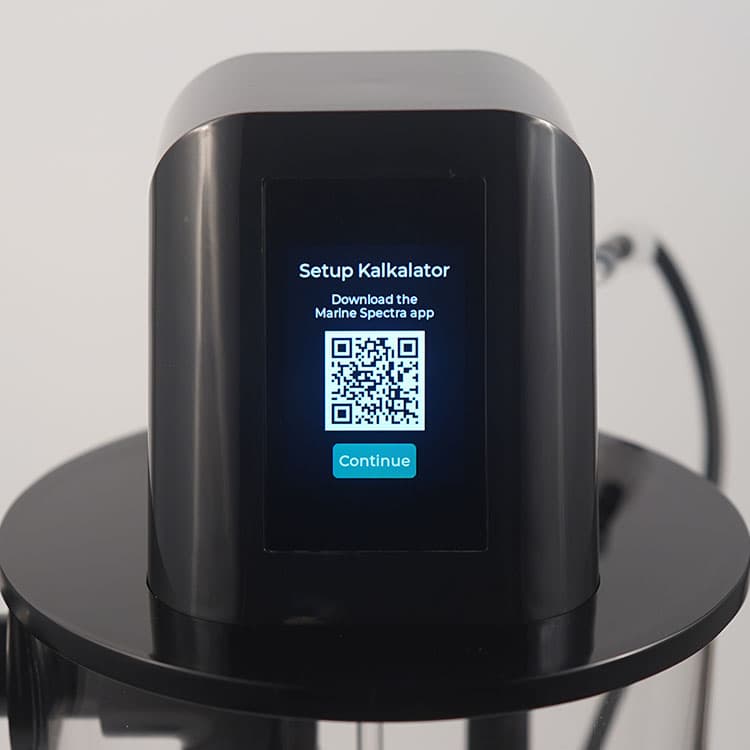
Configure Kalkalator
Download the Spectra Hub app for iOS or Android.


Log-in to your Spectra Hub account. If you don't have a user account, tap 'Create Account'.
Create an Aquarium to add your new device. Or add to an existing Aquarium.
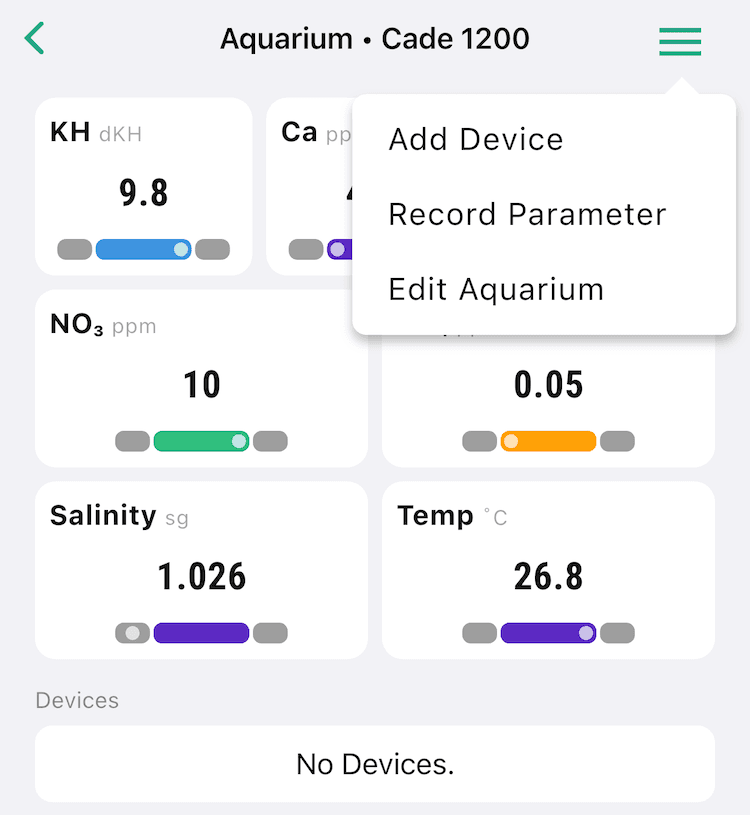
Tap the aquarium you would like to add Kalkalator to, and select 'Add Device' from the menu on the top right.
Spectra Hub will scan for any Kalkalator in setup mode nearby.
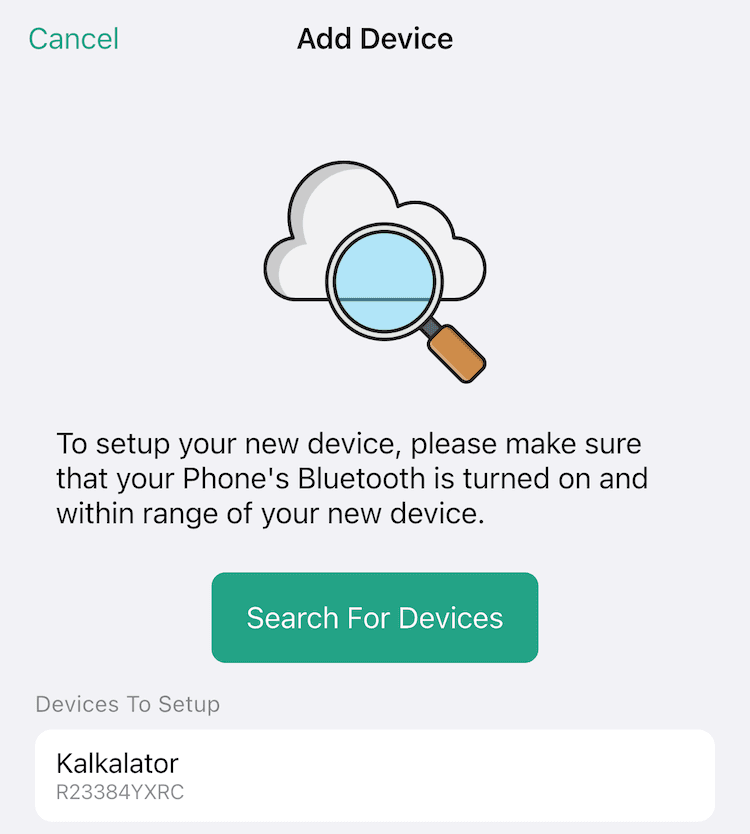
Select the device from the list, then enter the pairing code displayed on the Kalkalator display.
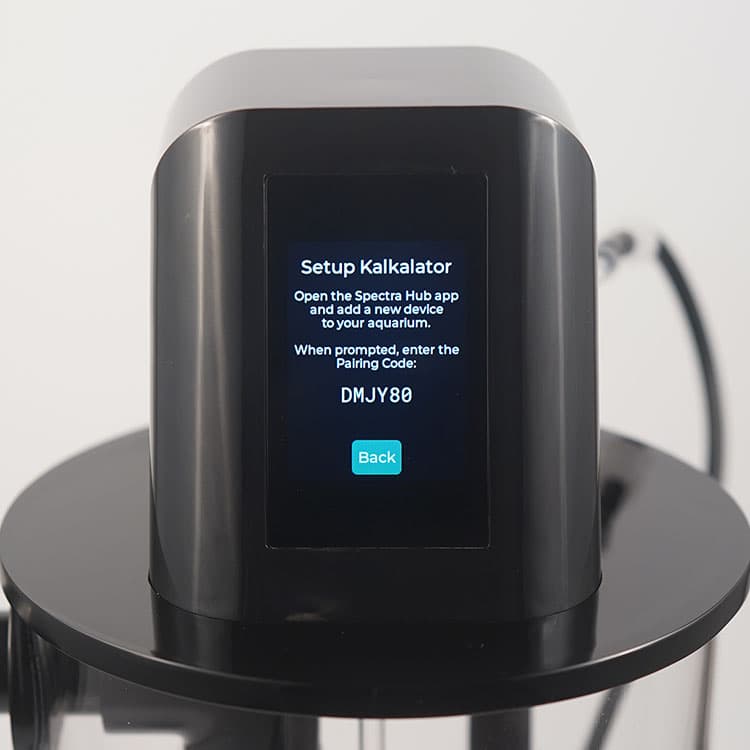
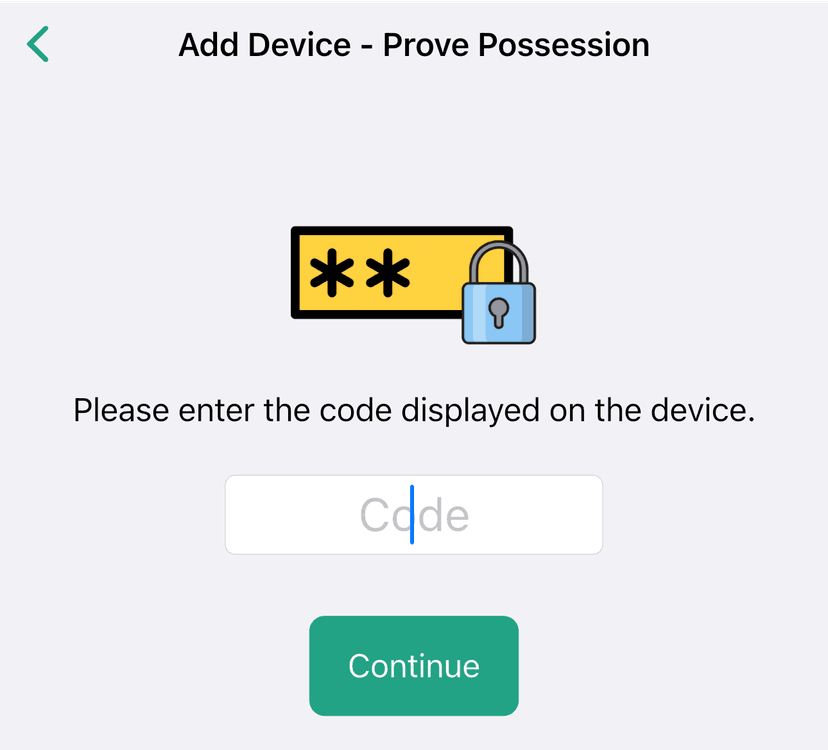
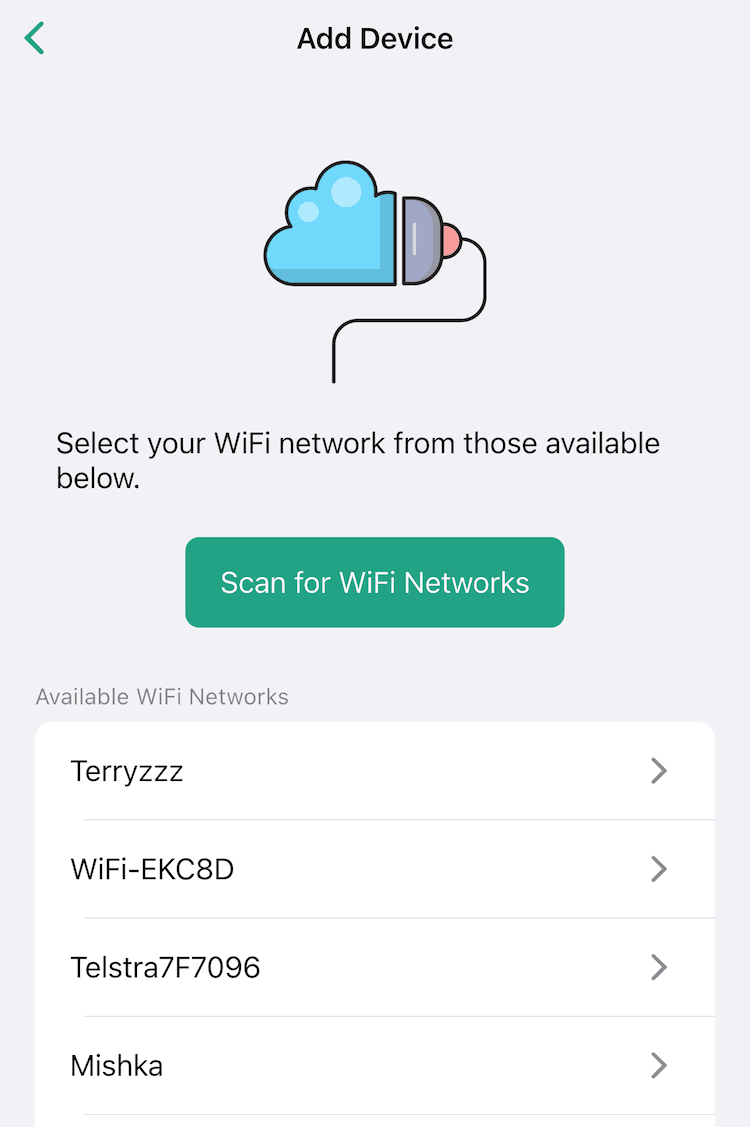
Once paired, Kalkalator will scan for WiFi networks nearby. Only 2.4GHz networks are compatible, and older security schemes are not supported (eg WEP or WPA1). Select your desired network and provide the associated password.
Kalkalator will attempt to connect to the network and configure basic settings.
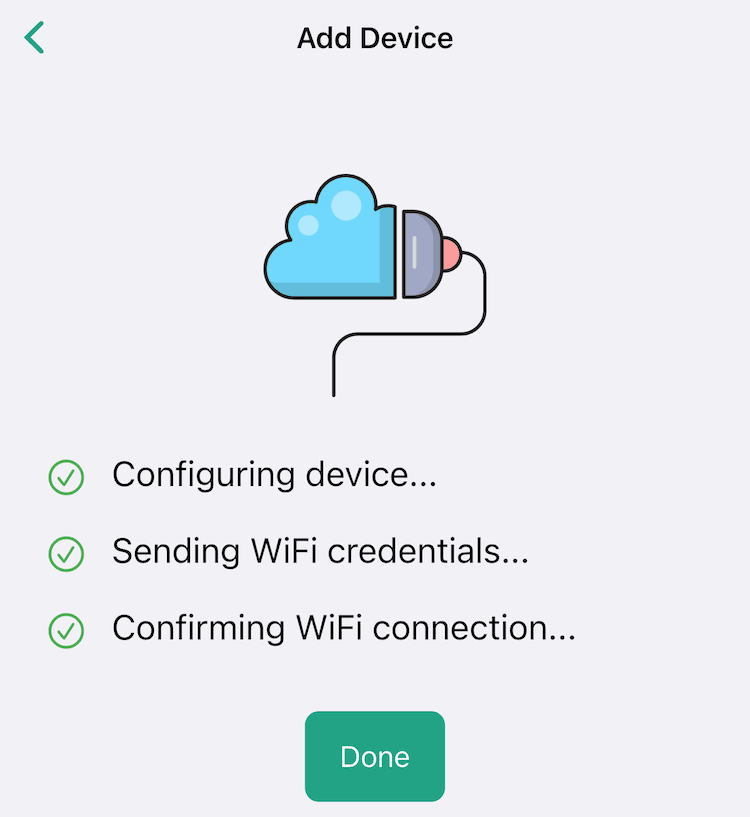
Tap "Done" and you'll be taken back to your aquarium view. Your newly setup device should appear in the list of devices.
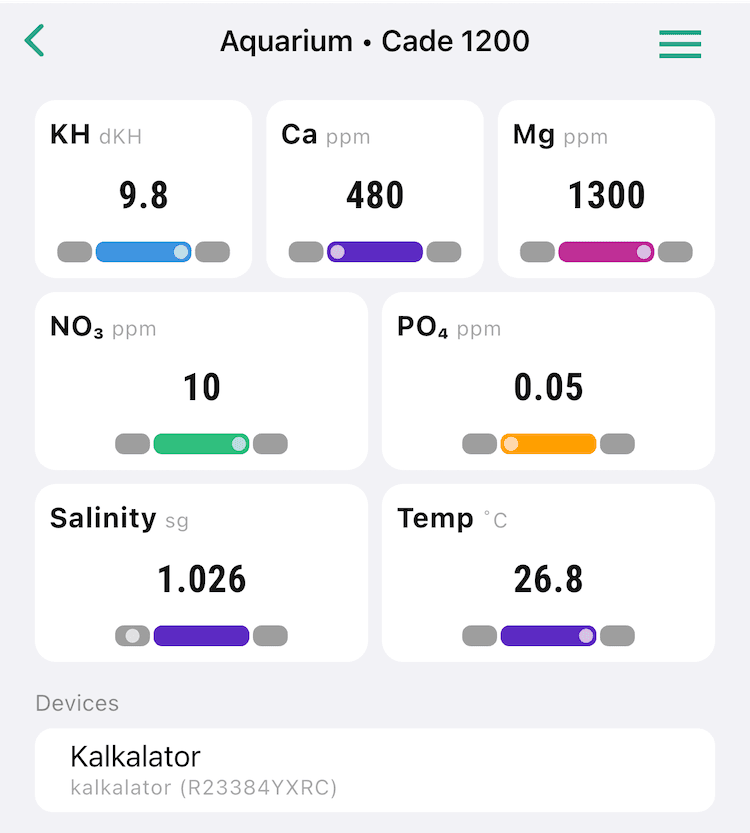
Kalkalator will display "Provisioning..." on the screen while it sets up a secure connection to our Spectra Cloud, once complete, you'll be able to view and configure Kalkalator settings from the Spectra Hub app. You can also always manually configure Kalkalator from its touch screen as well!
When you tap on the device, you'll be taken to the device screen showing the current state of the device, along with recent history of the saturation readings of the reactor. The saturation level is logged every 5 minutes.
Tapping the icon in the top right will take you to the settings. Here you can update all the same properties as on the touch screen of Kalkalator itself.
Settings
Name: The identifier displayed in your device list.
Enabled: Controls whether the unit performs stirring and dosing functions.
Dose: How much kalkwasser Kalkalator will dose per day in mL.
Dose All Day: Distributes daily dosage across 24 hours when enabled; allows custom timing windows when disabled.
Stir Speed: Rotation rate measured in RPM; 5-15 RPM is usually a good range.
Time Zone: Ensures accurate timekeeping and dosing schedule adherence.
Display Brightness: Adjusts LCD backlight intensity.
Break-in Period
With small daily doses, there may be a short break-in period at first. When the unit is new, the water can cling to the plastic, making the dosing look uneven during the first week or so. You might not see any liquid for a while, then notice a small burst released all at once. This is normal. As the unit is used, a thin coating naturally forms on the plastic, which reduces this effect and allows the dosing to settle into a smooth, consistent drip.